


Blockade Runner, Bandai 1/1000 scale - Part 1
Labels:
Bandai Star Wars,
Modelling Tutorials
This installment of my Star Wars binge builds features the 1/1000 scale blockade runner from Bandai. For the benefit of some of you folks, I will subsequently provide a synopsis on the painting of this project.
As with what I have come to expect from Bandai, this kit literally snaps together and it is ready for painting in under 30 minutes.

Prior to hand painting, I primed the model with Mr Super Clear Matt Varnish not only because it is much thinner then regular paint primer but more importantly it dries to a chalky matt finish. This provides better paint adhesion for the water-based acrylic paint and minimizes the appearance of water marks.

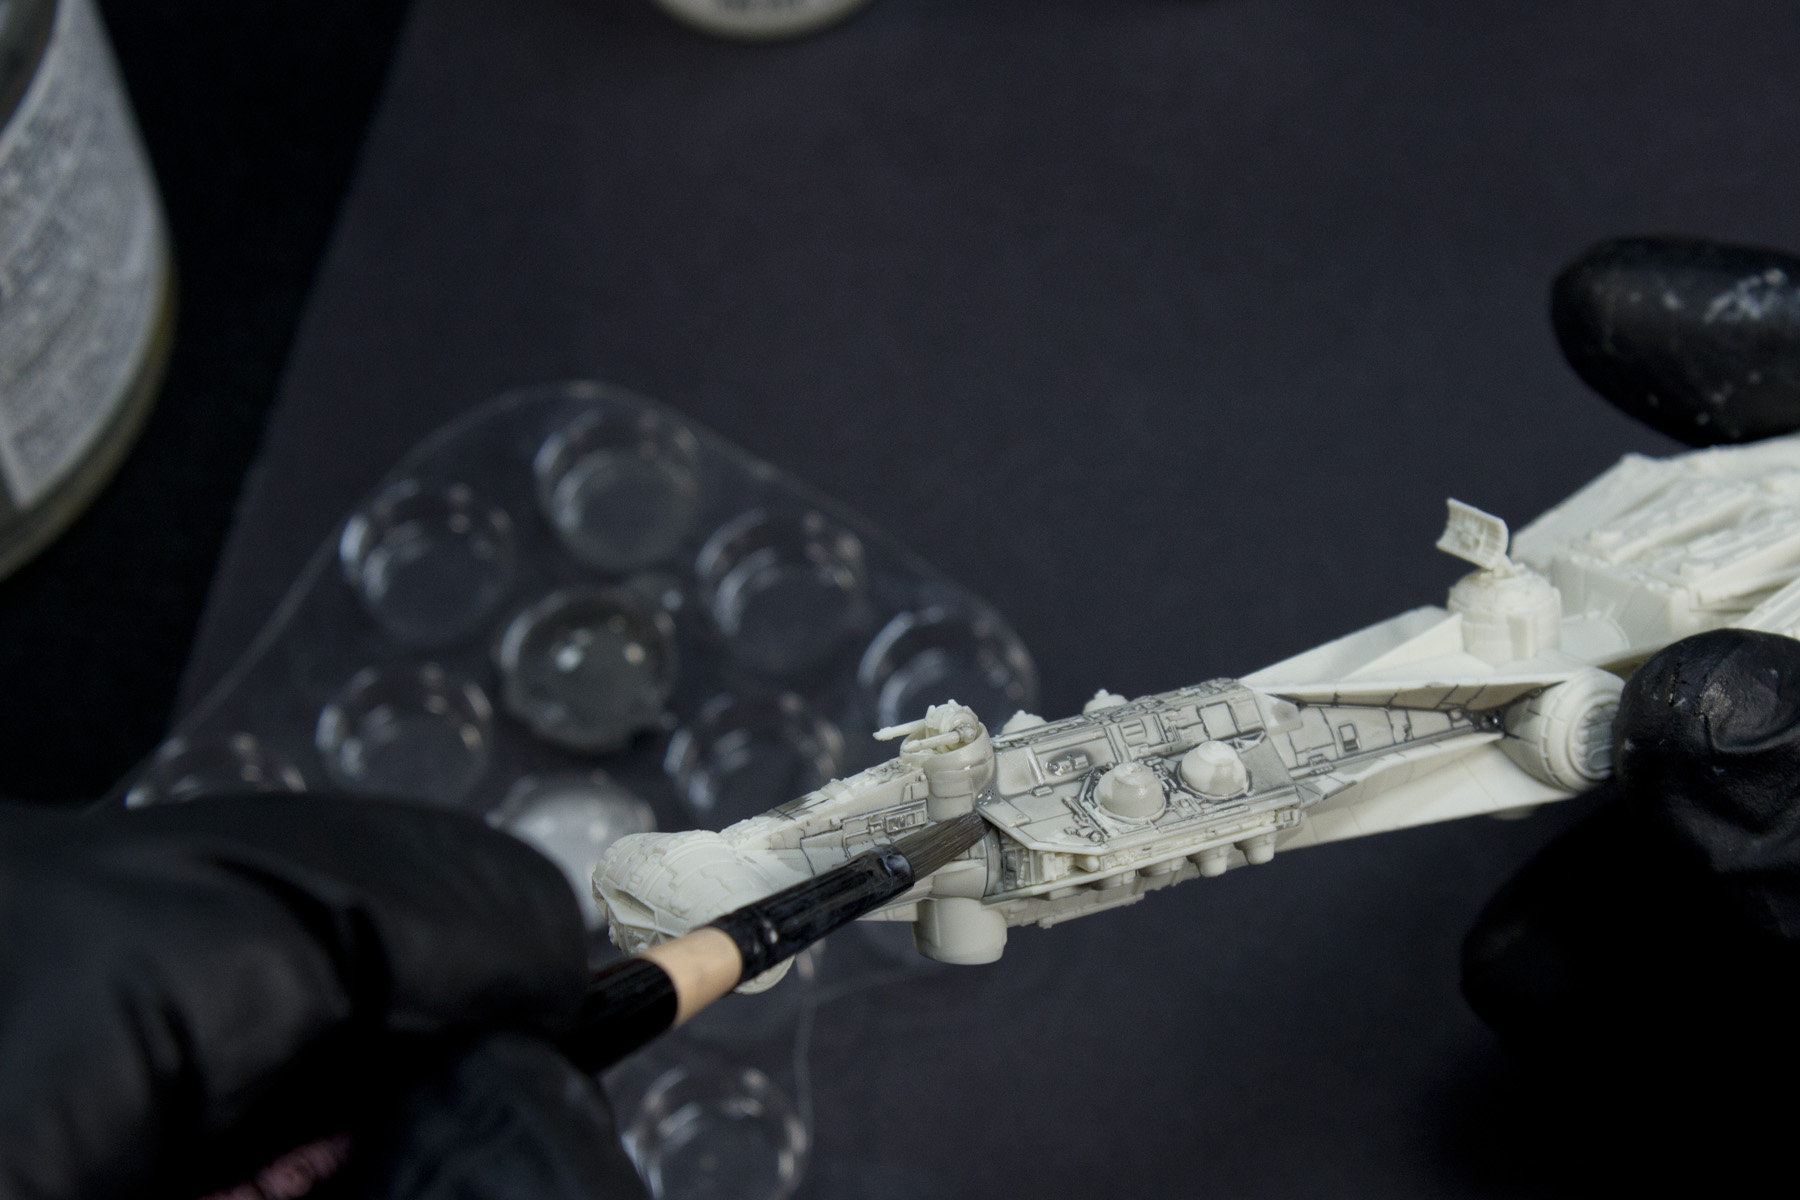
Mise- en- place. A blister pack is used as a paint palette along side with the Gen 3 acrylic paints from AK Interactive. For this project, I will be trying out for the first time the weathering pencils from AK Interactive kindly sponsored by M Workshop.


I began by pre-shading the model using a color shade concocted with Pale Grey and Black. A touch of acrylic retarder was added to increase the working time, improve the paint flow and reduce the surface tension of the paint. It was diluted with water and applied in multiple passes to minimize the build up of paint. The objective is not to achieve a solid color but rather to attain a base layer of paint which serves as a ground traditionally referred to by painters as Imprimatura / Underpainting.
First pass.

Second pass.

Finally, a third pass with more black added to the mixture.

With the Underpainting completed, I proceeded to dry brushing the model with Grimy Grey - which is the overpainting. This accentuates the raised detail of the model and conceals the uneven blotches of the Underpainting. For tonal variation, Pale Grey (which is a cooler tone) was concurrently dry brushed onto the darker regions of the model to represent the cool shadows. I highly recommend a filbert brush for this purpose as it will produce a much softer effect than the flat brush.
The dry brushing process is briefly documented in the following:

The first step is to draw paint from the palette. It is important that the paint is as thick as possible to achieve the optimal results. Do not add any water or any other additives as it will cause streaks during the dry brushing phase.

Next is to unload the excess paint onto a kitchen napkin/paper towel. Try to draw out as much of the wet paint onto the napkin. Avoid using toilet paper as it will "fur" and cause fibers to attached to the paint.

Always testing out the strokes of the brush to ensure that there are no paint streaks. You should be producing a "smoky/cloud" like effect if the paint is sufficiently unloaded onto the napkin.

When ready, gently rake the brush in an diagonal direction from the model's surface. This allows the raised detail to "catch" the paint as the bristles go across and if done right, the highlights will emerge. There is no fixed number of times you should dry brush. It all depends on your preference and desired results.

Finally, the completed result of the dry brushing process. I choose to make multiple passes until the paint builds up to a certain level opacity that smooths out the uneven surfaces from the Underpainting. Even with that said, drybrushing has it inherent drawbacks as a painting technique. In the next segment, I will elaborate on the counter measure to remedy that shortcoming.
To be continued....
Cheers,
Calvin


